Let’s build worldwide real-time weather monitoring with RAK WisBlock and Qubitro.

Things used in this project
| Hardware components | ||||
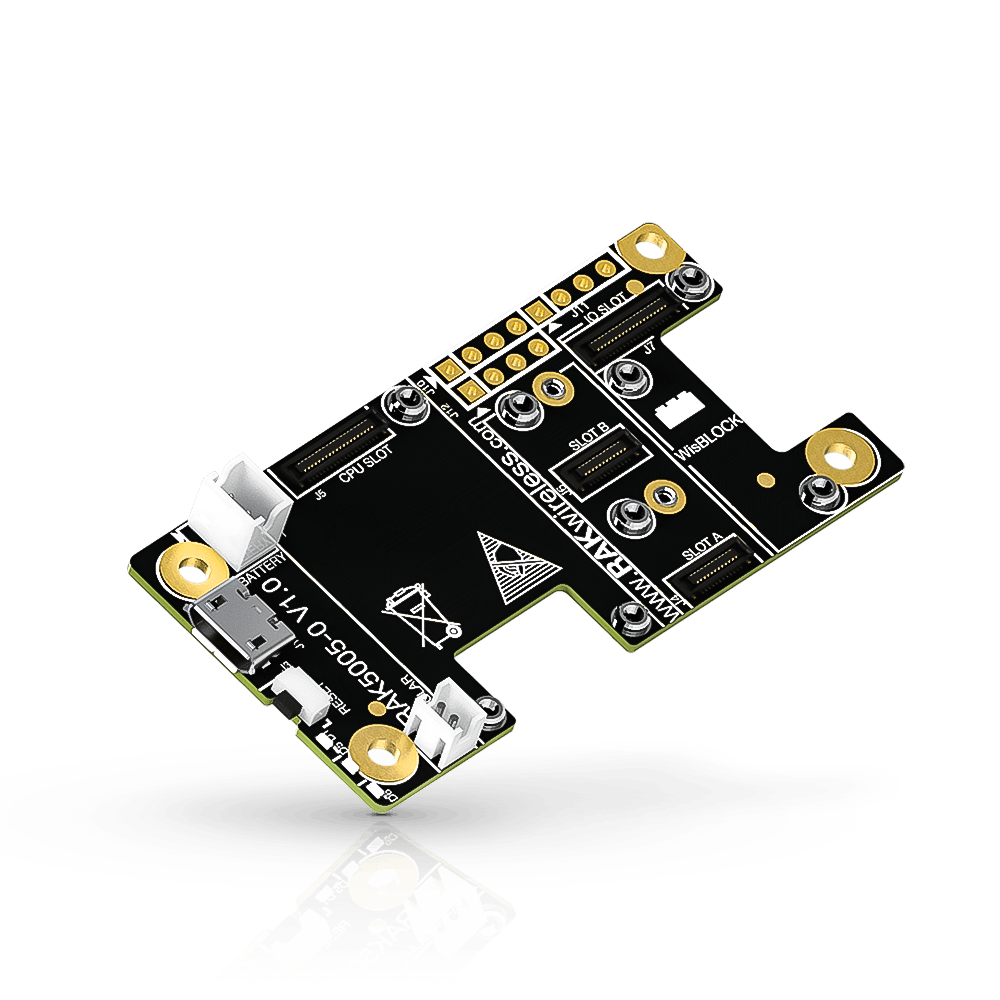 | RAKwireless WisBlock Base Board RAK5005-O | × | 1 | |
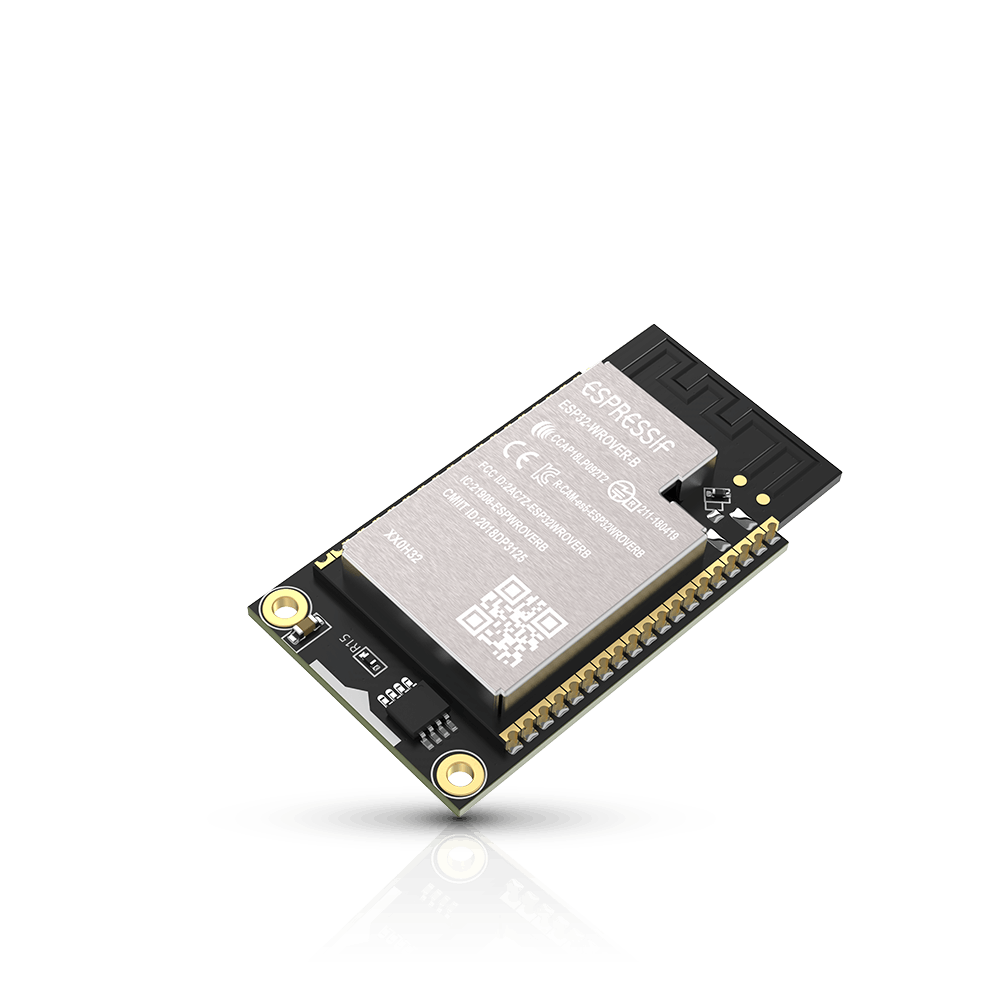 | RAKwireless WisBlock WiFi Module RAK11200 | × | 1 | |
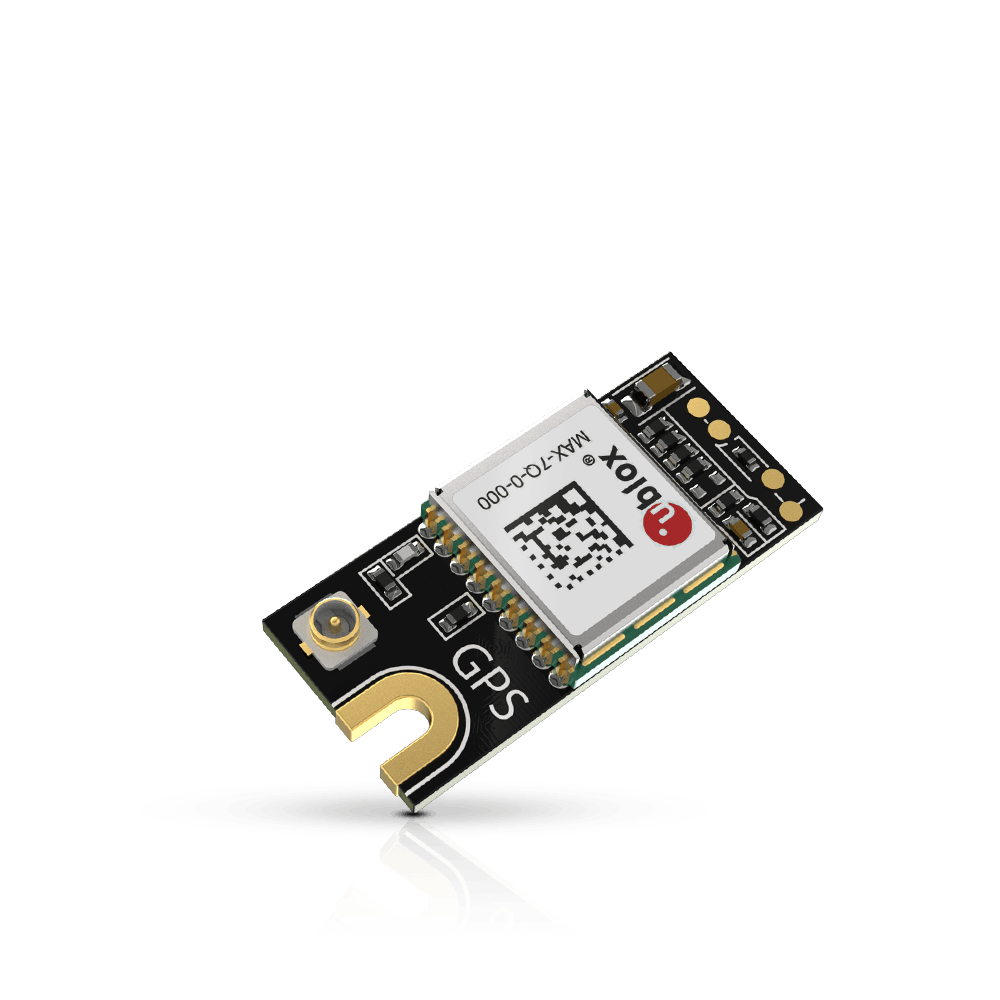 | RAKwireless WisBlock GNSS Location Module RAK1910 | × | 1 | |
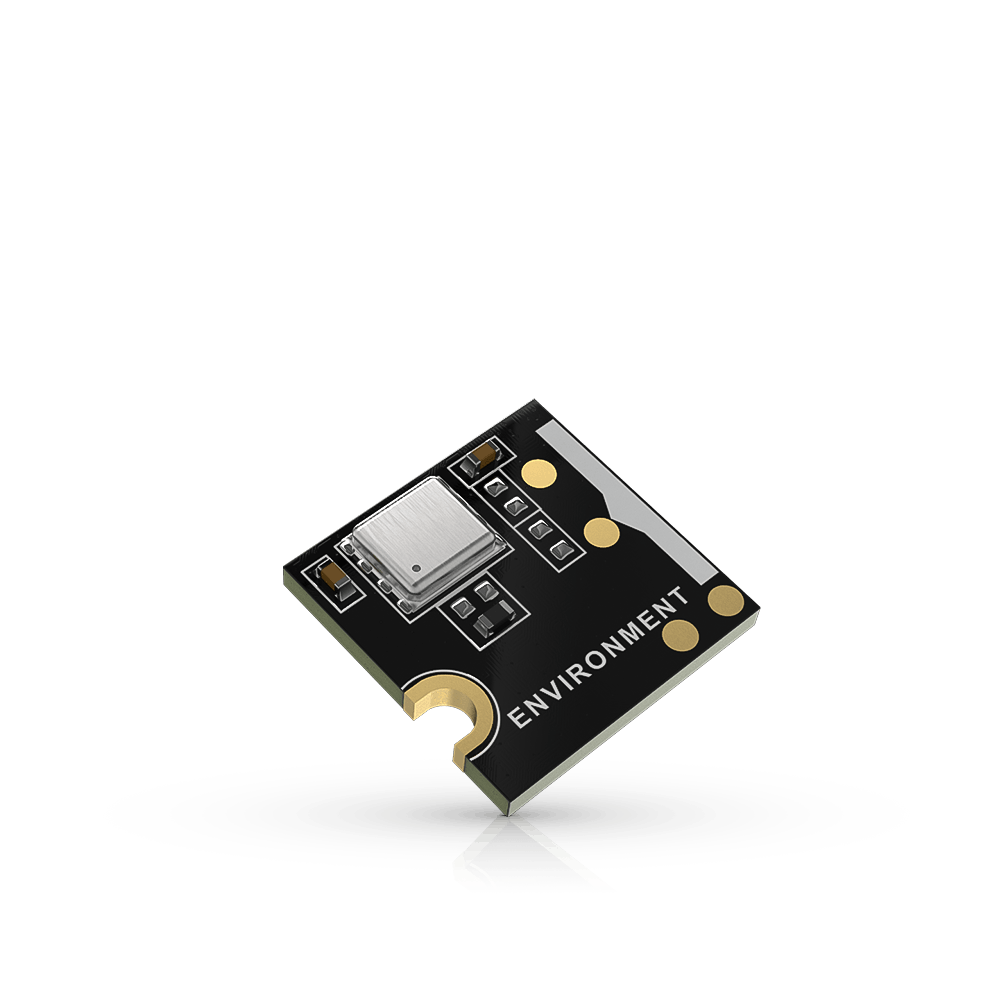 | RAKwireless WisBlock Environmental Sensor RAK1906 | × | 1 | |
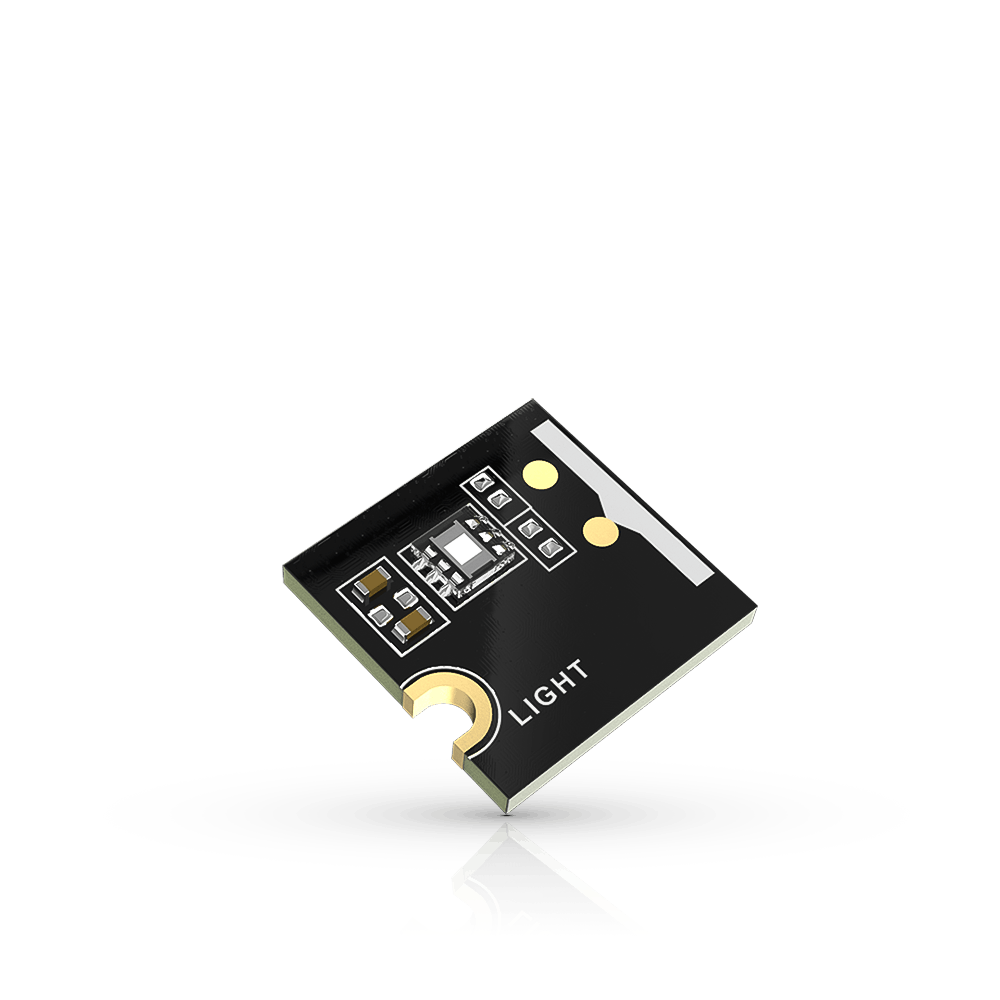 | RAKwireless WisBlock Ambient Light Sensor RAK1903 | × | 1 | |
| Software apps and online services | ||||
 | Qubitro | |||
 | Arduino IDE |
Story
This 21st century has a great deal of importance and has many uses, such as maintaining track of Global weather conditions, agricultural field weather conditions, and monitoring industrial conditions. Weather monitoring might offer data on climatic phenomena such as temperature, humidity, and gas. The link would be more convenient and user-friendly if wireless communication was used, and weather monitoring would not require the physical presence of a person on the spot. So, in this tutorial, our Qubitro Ambassadors team created a project that can monitor “Global Real-time Weather Conditions.”
Hardware Requirement
WisBlock Base Board (RAK5005-O)
WisBlock Wi-Fi Module (RAK11200)
WisBlock GNSS Location Module (RAK1910)
WisBlock BME680 Environmental Sensor (RAK1906)
WisBlock Light Sensor (RAK1903)
Software Requirement
Arduino IDE
Qubitro
Cloud Setup
A cloud platform is necessary to make a wireless weather monitoring system or any other wireless IoT system. For a good, and reliable cloud, certain criteria must be met.
With Qubitro, users can build a simple, reliable, and cost-effective cloud solution. One of the most important features of Qubitro is its integration options. There are some cloud solutions that only support MQTT, someone else that only supports TTN, and someone else that only supports HTTP, but how about a provider that offers all integration options from LoRa to HTTP? There are a number of options for integrating with Qubitro.

So, we have a cloud provider, but to view or share your IoT data with others or to make a personal application, we need an API that lets users create and share IoT sensor data.
Qubitro has its own API services, so you can do whatever you want with your data.
Configuring the Qubitro platform
Simply type qubitro.com into your browser, ta-da !! We will be there.

You will be seen like a web page like above one, click on Go to Portal and create a new account.
Now you are ready to build the strong and futuristic IoT platform.

Once you opened the portal, If you need any help just navigate to the documentation section, you will find more interesting things.

Next, move to the project section. It will ask you to create a new project. Type your project name and your project description.

As we mentioned, Qubitro allows you to set up multiple connectivity options like MQTT, TTN, Blues Notehub, Helium, and Actility. In this tutorial, we are going to set up an MQTT Connection, so choose the MQTT and hit continue.

Now you need to add your first device to the portal. Enter the all needed device details.

Once you enter all the necessary information, click continue, and it will show you the MQTT Connection credentials, save these because we require this for our next module.

Now all the setups were completed, let’s jump into the Hardware part.
Hardware Setup:
Next, we are moving to hardware connection, Rak WisBlock Modules are just plug-and-play modules, you don’t need to do any hard-wiring just click the sensors and ESP32 Core with the baseboard, and that it. You are good to go.
Connect the sensors with the base board based on the circuit connection.

[Note: GPS will work only on slot A]
Now we have to set up the Arduino IDE for programming the RAK hardware. So that, we need to do some software configurations. Please follow the RAK Wireless WisBlock Arduino BSP Installation guide.
[RAK11200 Quick Start Guide | RAKwireless Documentation Center]
Once you have done the setup, will move on to the programming part, we have modified the sensors code and added Qubitro communication in it.
We have to add our Device ID and Device Token in the Arduino Code, change this with respect to yours also change the Wi-Fi SSID and password.

Just try to compile the below code with your Arduino IDE without any errors.
Make sure the correct board and com port are in your IDE.

Then upload the code to your RAK WisBlock then open the serial monitor and check back the results. Once it’s connected to Qubitro we can move further.

Data Visualization:
Now our hardware is connected to the cloud, but we need to visualize the data, right? For that, we have to open up our Qubitro portal and then navigate to our project. And check back the device data.

You can see the sensor reading in a JSON format, now navigate to the Monitoring tab, and create a new dashboard.

Then create a new widget and select the device & data type.

We have added three different devices, one is from Rodrigo from Santa Rosa, La Pampa, Argentina and the second one is from Salman, Kerala, India and the third one is from Pradeep from Tamil Nadu, India.

And here is our final dashboard, by this dashboard you can monitor the real-time weather status of 3 different global regions.

Conclusion:

We are at Qubitro making the tech for simple for everyone, and cost-effective. In this tutorial, we have shown how to build your DIY weather station with Qubitro and RAK WisBlock modules. Just try the Qubitro and share your experience with our discord server.
Schematics
RAK WisBlock connection

Code
https://github.com/pradeeplogu0/Qubitro-MQTT/tree/master/Qubitro-Weather_Monitoring
