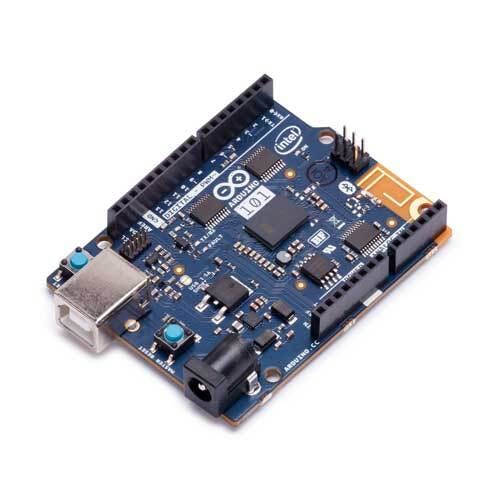
Will guide you to build an IoT based elephant detector based on Grove AI Vision Module and Wio Terminal.
Things used in this project
Story
About The Project
I currently reside in Ooty, a beautiful hill station in southern India. The main problem is that elephants frequently enter the village. We can be alerted by their sounds sometimes, but most of the time they are silent, so we cannot be alerted.
So I have planned to make a device that can detect elephants and send an alert.

Project Flow:
First thing, we have to train some ML to detect the elephants. This SenseCAP K1100 kit contains Grove AI Vision module and Wio Terminal, so we can train the vision module to detect elephants and send data to Wio Terminal then the data will be passed to the cloud, and it will make an alarm. Like email and SMS.

Step 1:
This Grove AI Vision module can be trained to detect a model by using Roboflows ML detection. Here is the guide by Seeedstudio to create and upload a custom model. https://wiki.seeedstudio.com/Grove-Vision-AI-Module/
Here is my model which can detect elephants. It’s not so much a good model, but it works fine.
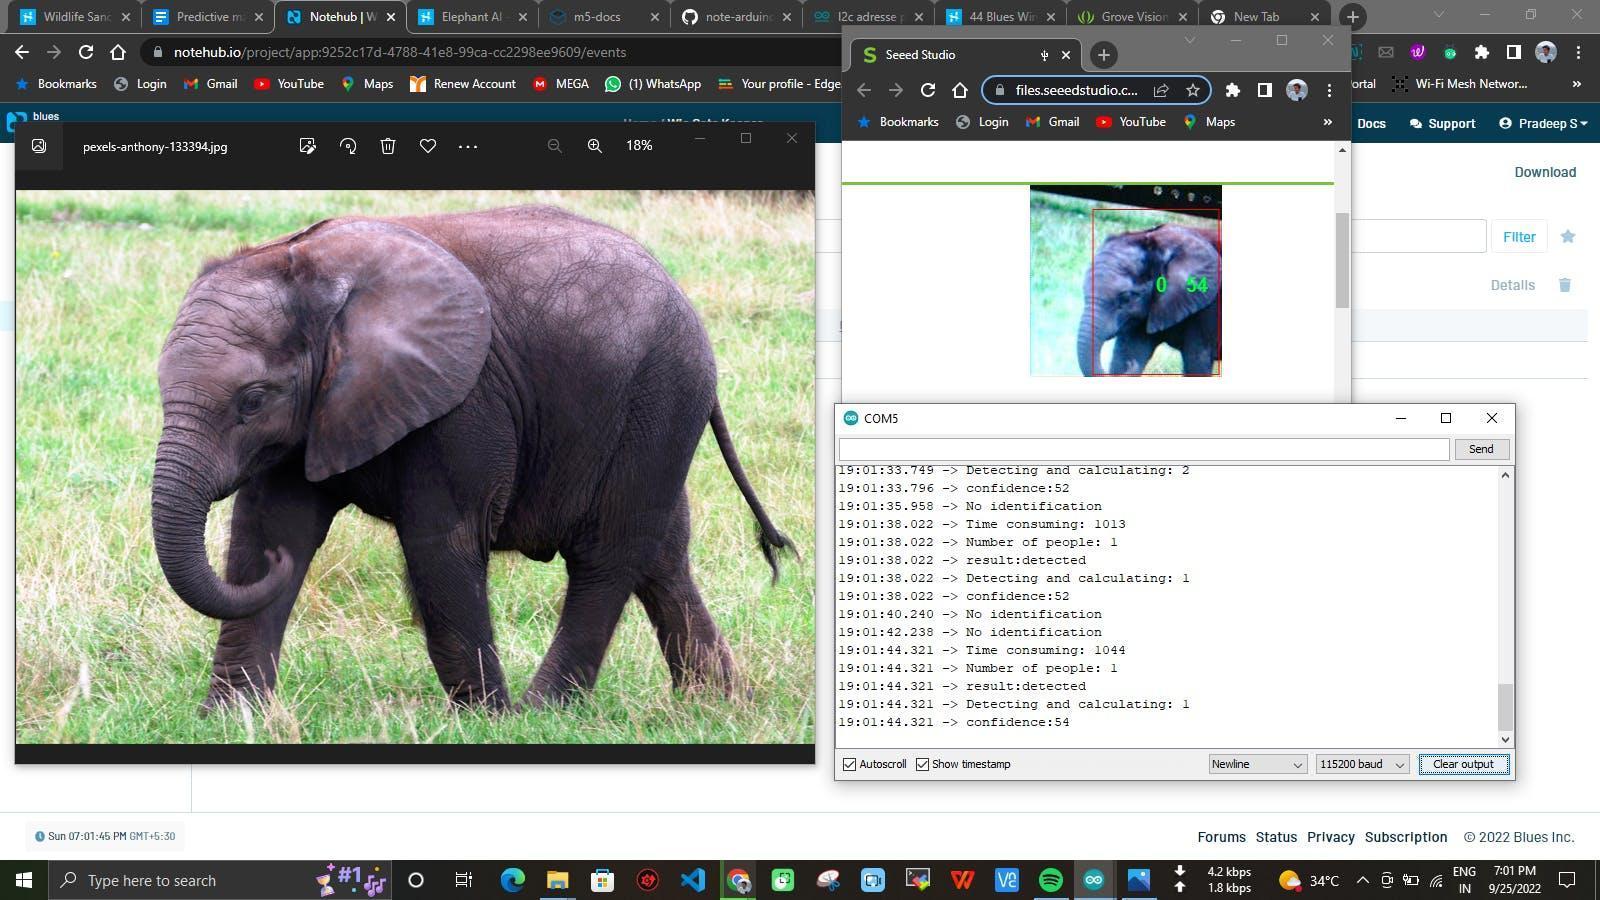
Seeedstudio is working with Edge impulse integration so I will update this with the Edge Impulse model it will be a more confident model.
Now our Wio terminal will get model detection results, next step is to send the model classification results to the cloud and make an alert.
Step 2:
My initial plan is to integrate LoRa and TTN, but I don’t have a LoRaWAN or Helium gateway, so I just make a plan to use a Wi-Fi or Cellular IoT. Then I moved with cellular to get this work done.
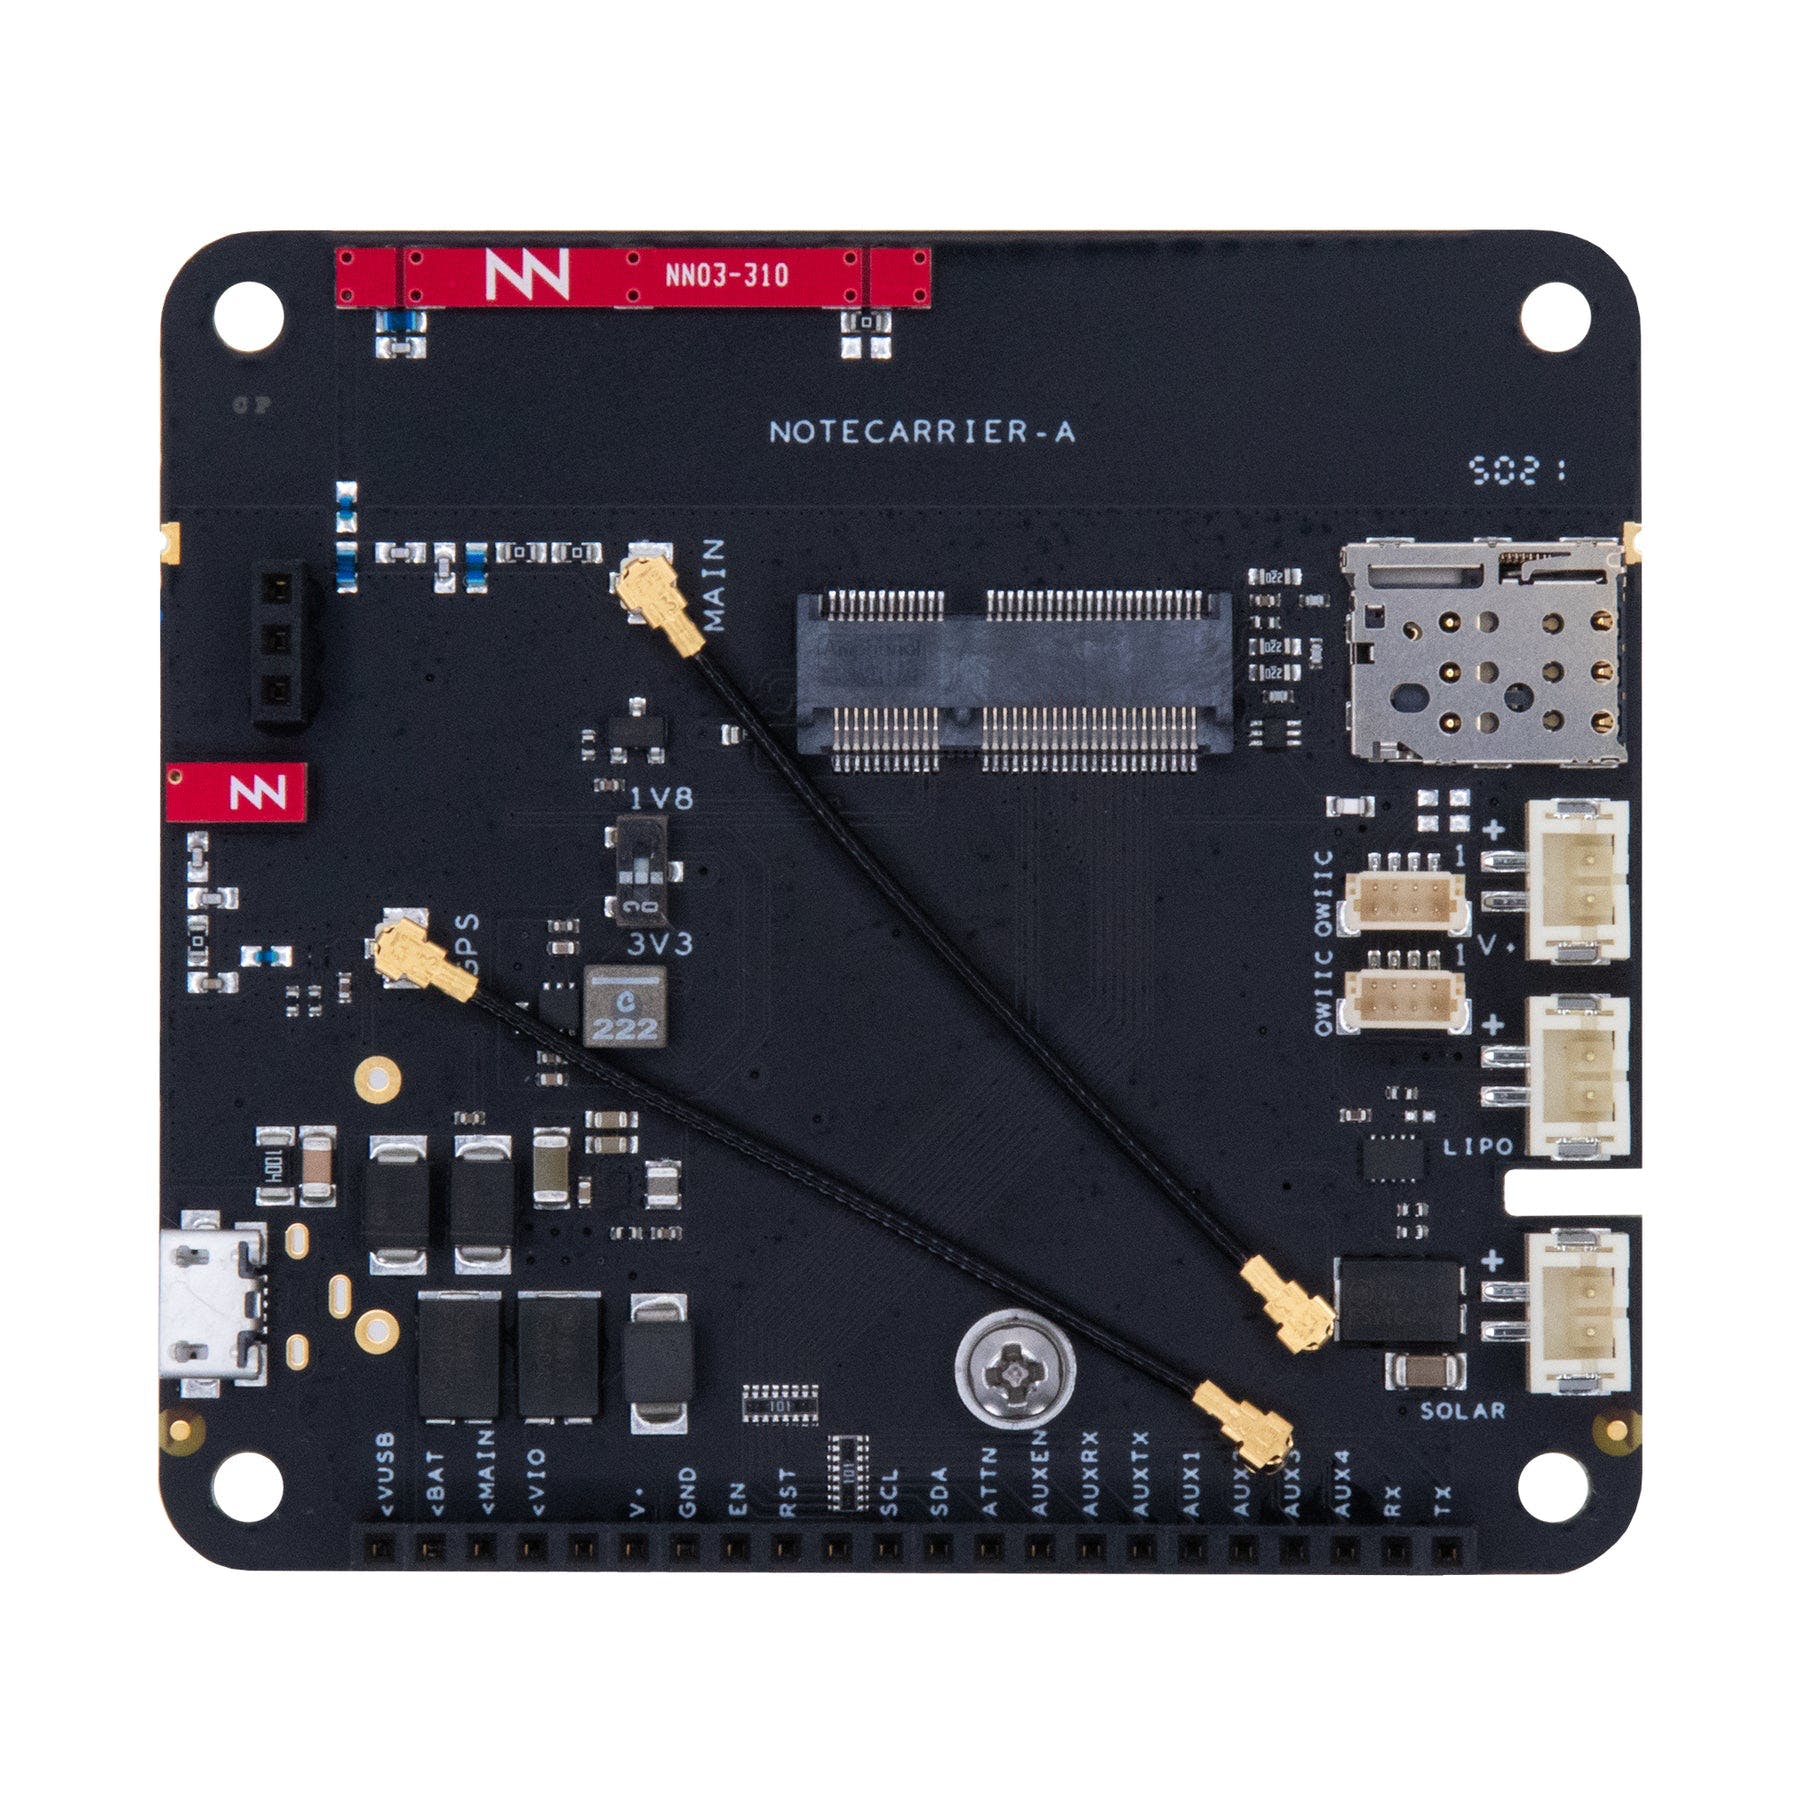
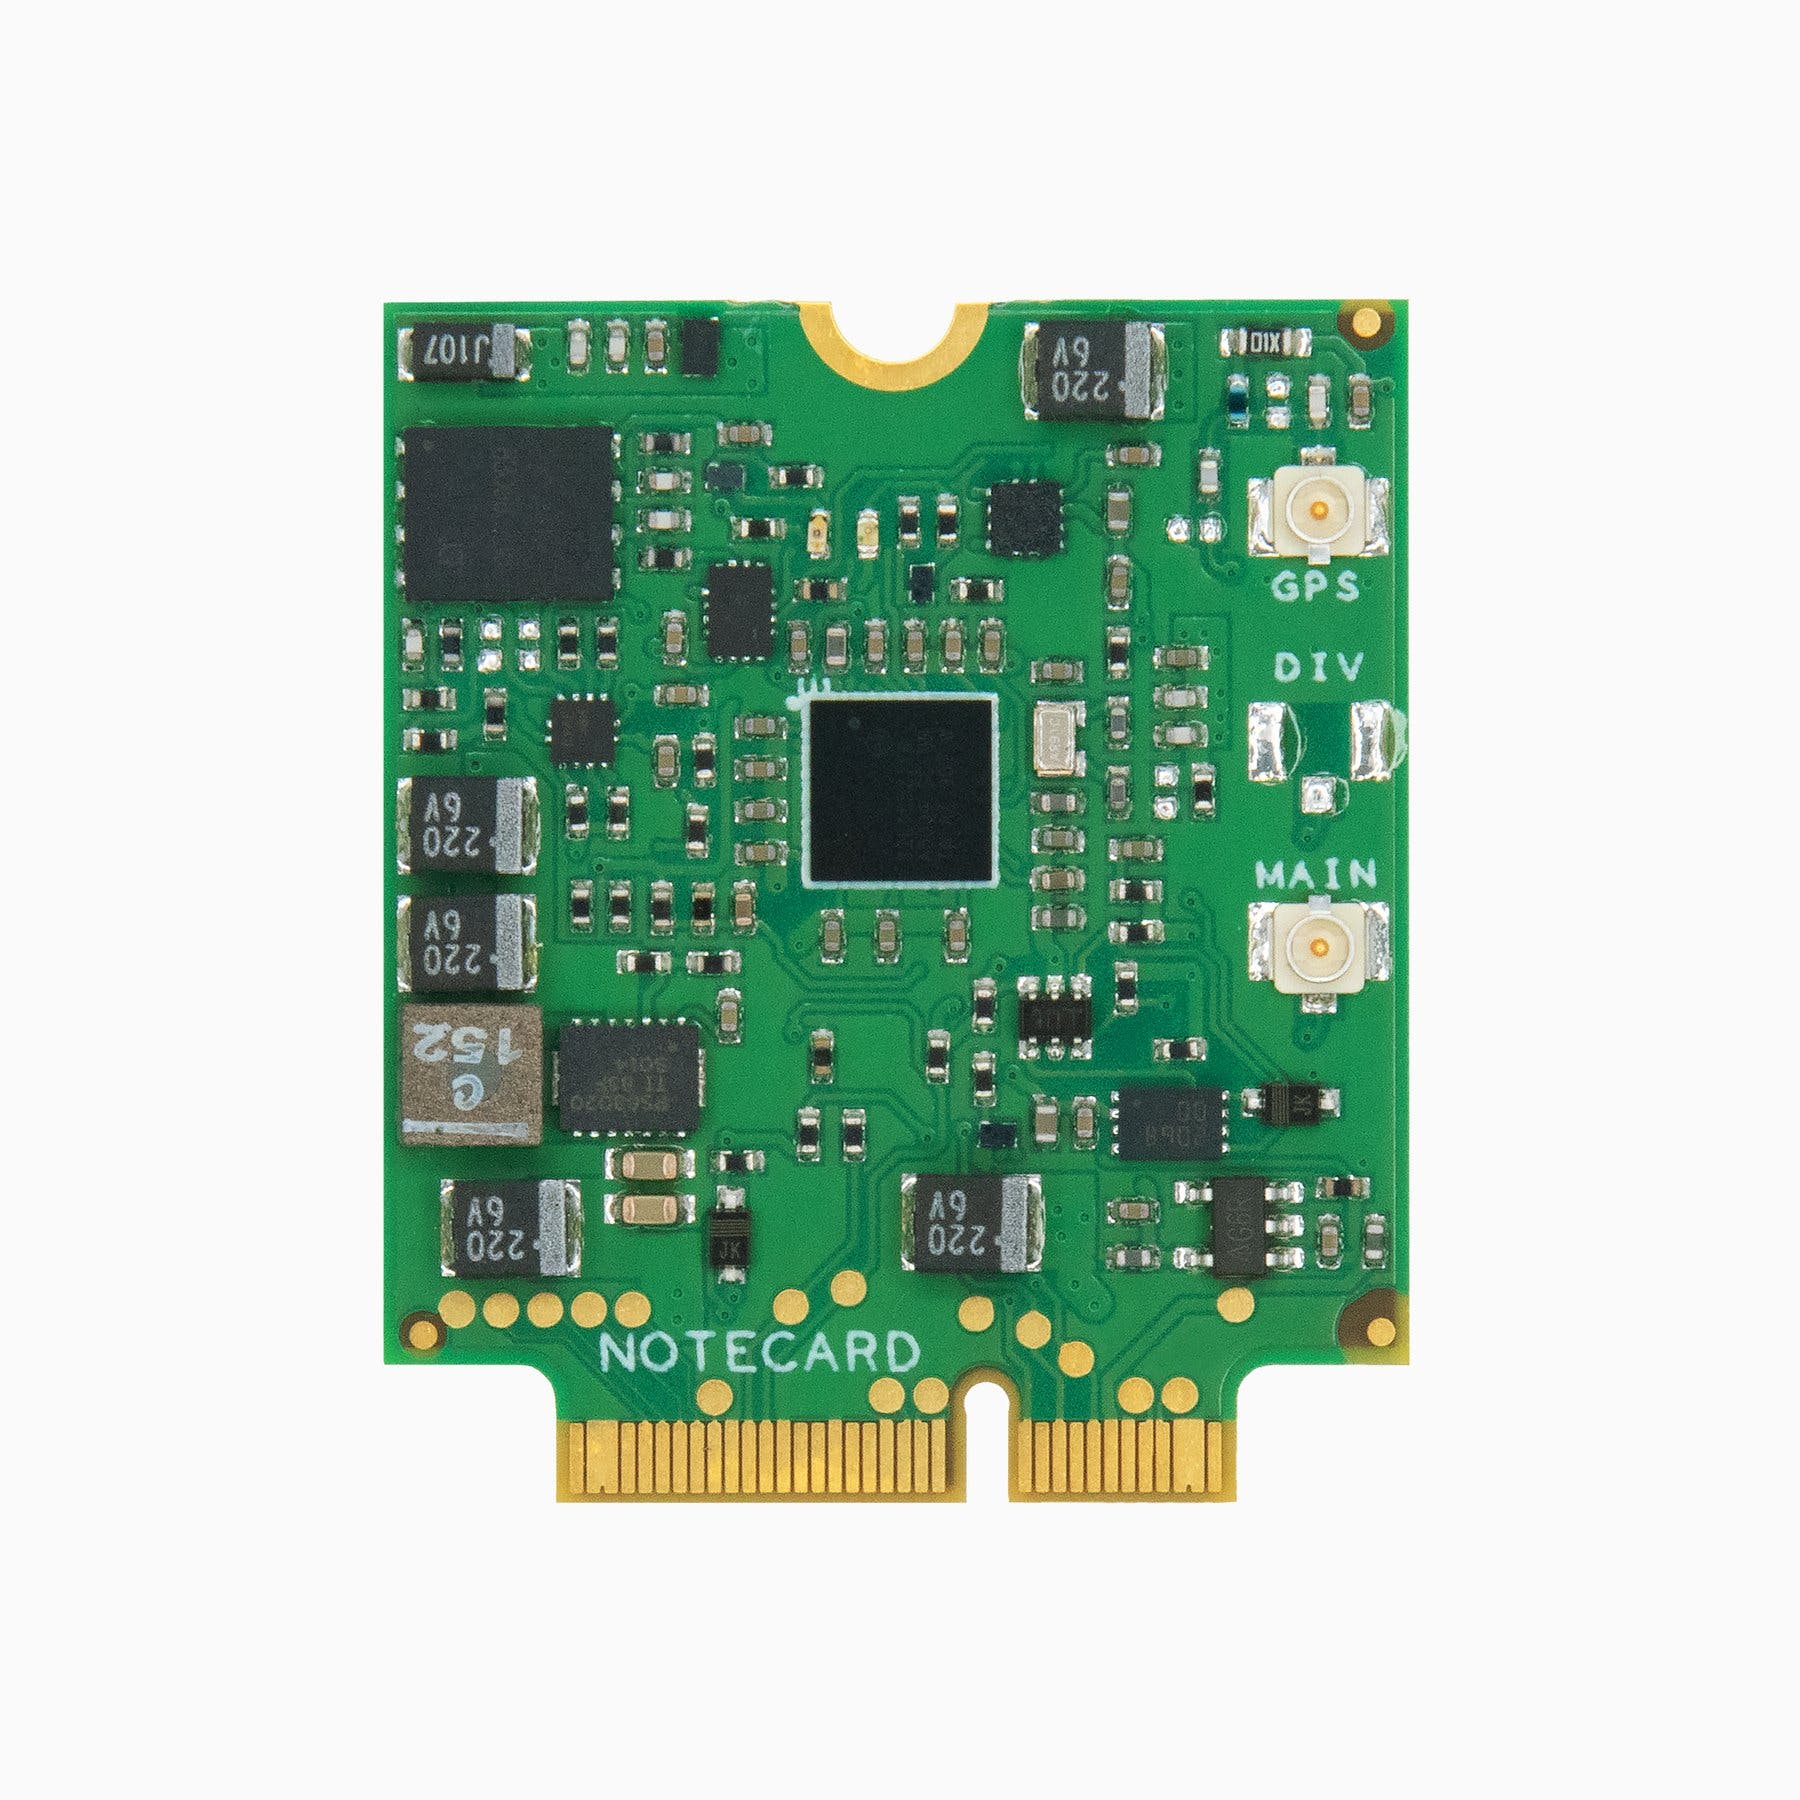
In this project I have used Blues Wireless notecard which is a cellular-based IoT hardware, also allows integration with multiple cloud platforms.

I have connected Blue’s notecard in the UART port (8th and 10th pin) of the Wio Terminal. I have added a light system that can turn on at nighttime and turn off at day times to give some lights for the Vision classification. You have to create a new project on Blues note hub and program that project, I’d into the Wio terminal to send data to the cloud.

First get the project ID from the Blues Notehub and paste it into the following code.

Next, compile the code and upload it to the Wio Terminal, now this wio terminal will detect the serial data and forward it to the Blues Notecard. So this will now send model status, model confidence, and count.

This is my complete code
#define LGFX_AUTODETECT
#define LGFX_USE_V1
#include <LovyanGFX.hpp>
#include <LGFX_AUTODETECT.hpp>
static LGFX lcd;
static LGFX_Sprite sprite(&lcd);
int count;

#include <Notecard.h>
#define txRxPinsSerial Serial1
#define productUID "com.gmail.pradeeplogu26:wio_gate_keeper"
Notecard notecard;

#include "Seeed_Arduino_GroveAI.h"
#include <Wire.h>
GroveAI ai(Wire);
uint8_t state = 0;
String Status;
double conf;
void setup() {
 pinMode(WIO_LIGHT, INPUT);
  notecard.begin(txRxPinsSerial, 9600);
  J *req = notecard.newRequest("hub.set");
  JAddStringToObject(req, "product", productUID);
  JAddStringToObject(req, "mode", "continuous");
  notecard.sendRequest(req);
  delay(1000);

  Wire.begin();
  Serial.begin(115200);
  Serial.println("begin");
  if (ai.begin(ALGO_OBJECT_DETECTION, MODEL_EXT_INDEX_1)) // Object detection and pre-trained model 1
  {
    Serial.print("Version: ");
    Serial.println(ai.version());
    Serial.print("ID: ");
    Serial.println( ai.id());
    Serial.print("Algo: ");
    Serial.println( ai.algo());
    Serial.print("Model: ");
    Serial.println(ai.model());
    Serial.print("Confidence: ");
    Serial.println(ai.confidence());
    state = 1;
  }
  else
  {
    Serial.println("Algo begin failed.");
  }

    lcd.init();
  lcd.setRotation(1);
  lcd.setBrightness(128);
  lcd.fillScreen(0xffffff);

  lcd.fillScreen(0x6699CC);
  lcd.setTextColor(0xFFFFFFu);
  lcd.setFont(&fonts::Font4);
  lcd.drawString("Gate Keeper", 90, 100);
  delay(2000);

}

void loop(){
if (state == 1)
{
  uint32_t tick = millis();
  if (ai.invoke()) // begin invoke
  {
    while (1) // wait for invoking finished
    {
      CMD_STATE_T ret = ai.state();
      if (ret == CMD_STATE_IDLE)
      {
        break;
      }
      delay(20);
    }

    uint8_t len = ai.get_result_len(); // receive how many people detect
    if (len)
    {
      int time1 = millis() - tick;
      Serial.print("Time consuming: ");
      Serial.println(time1);
      Serial.print("Number of people: ");
      Serial.println(len);
      object_detection_t data;       //get data

      for (int i = 0; i < len; i++)
      {
        Serial.println("result:detected");
        count=len;
          Status = "Positive";
        Serial.print("Detecting and calculating: ");
        Serial.println(i + 1);
        ai.get_result(i, (uint8_t*)&data, sizeof(object_detection_t)); //get result

        Serial.print("confidence:");
        Serial.print(data.confidence);
        conf=data.confidence;
        Serial.println();

        J *req = notecard.newRequest("note.add");
        if (req != NULL) {
          JAddStringToObject(req, "file", "sensors.qo");
          JAddBoolToObject(req, "sync", true);

          J *body = JCreateObject();
          if (body != NULL) {
            JAddNumberToObject(body, "confidence", data.confidence);
            JAddNumberToObject(body, "count", len);
            JAddStringToObject(body, "result", "positive");
            JAddItemToObject(req, "body", body);
          }
          notecard.sendRequest(req);
        }
      }
    }
    else
    {
      Serial.println("No identification");
      Status="Negative";
      conf=0.0;
      len=0;
    }
  }
  else
  {
    delay(1000);
    Serial.println("Invoke Failed.");
  }
}
else
{
  state == 0;
}

 lcd.fillScreen(0xffffff);
  lcd.fillRect(10, 3, 300, 30, 0x6699CC);
  lcd.setTextColor(0xFFFFFFu);
  lcd.setFont(&fonts::Font4);
  lcd.drawString("Gate Keeper", 90, 8);

  lcd.fillRect(10, 45, 140, 90, 0x9900FF);
  lcd.fillRect(170, 45, 140, 90, 0x9900FF);
  lcd.fillRect(10, 145, 140, 90, 0x9900FF);
  lcd.fillRect(170, 145, 140, 90, 0x9900FF);
  lcd.setTextSize(0.5, 0.5);
  lcd.setTextColor(0xFFFFFFu);
  lcd.drawString("Status", 60, 50);
  lcd.drawString("Light", 220, 50);
  lcd.drawString("Confidence", 35, 150);
  lcd.drawString("Count", 220, 150);

  int j = analogRead(WIO_LIGHT);
  int k = rand() % 100;

  lcd.setCursor( 35, 80);
  lcd.setTextSize(1, 1);
  lcd.print(Status);
  lcd.setCursor( 220, 80);
  lcd.setTextSize(1, 1);
  lcd.print(j);
  lcd.setCursor( 35, 170);
  lcd.setTextSize(1, 1);
  lcd.print(conf);
  lcd.setCursor( 220, 170);
  lcd.setTextSize(1, 1);
  lcd.print(count);
  delay(1000);

  //    lcd.fillScreen(0xffffff);
  lcd.setFont(&fonts::Font4);
  lcd.setTextSize(1, 1);


}
Here is the received data from the Wio terminal on Blues Notehub, now our data reached the cloud, the next thing we have to add some visualization and an alarm system.

For this visualization we are going to use the Qubitro Cloud platform, Qubitro allows visualizing the data from multiple data sources like MQTT, TTN, HTTPS, Helium, etc. Just check Qubitro.com for more additional details. Go to portal.qubitro.com and create a new project and add a device with an MQTT connection. You can see the connection credentials, just note those, because you will need those on the next step.

First, go to the Route tab on the Blues Note hub then select type as MQTT and enter the credentials in the below format.


Now we need to do another procedure, just go to the environment section on the Blues Device and change the content as below.

That’s all now we are at the final step.
Step 3:
Open the Qubitro Portal and look for the incoming data from the note hub.
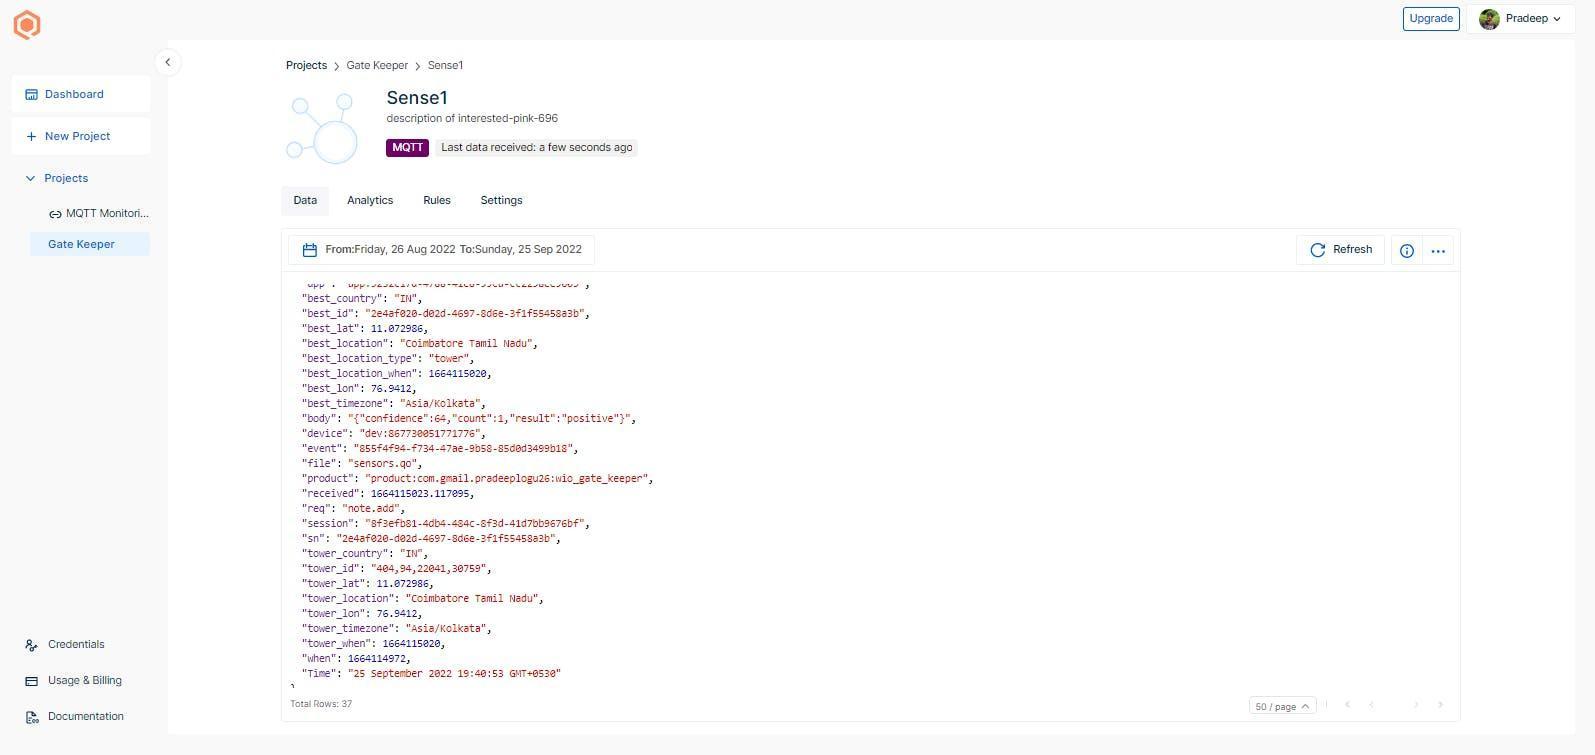
Now you see there are so much data we got from the note hub also, we need to arrange them. To do that, just go to the Blues Route tab and scroll down and add a JSON rectifier as below.

Let’s see the data again, it is now more readable and reasonable.(also, I have added the location)
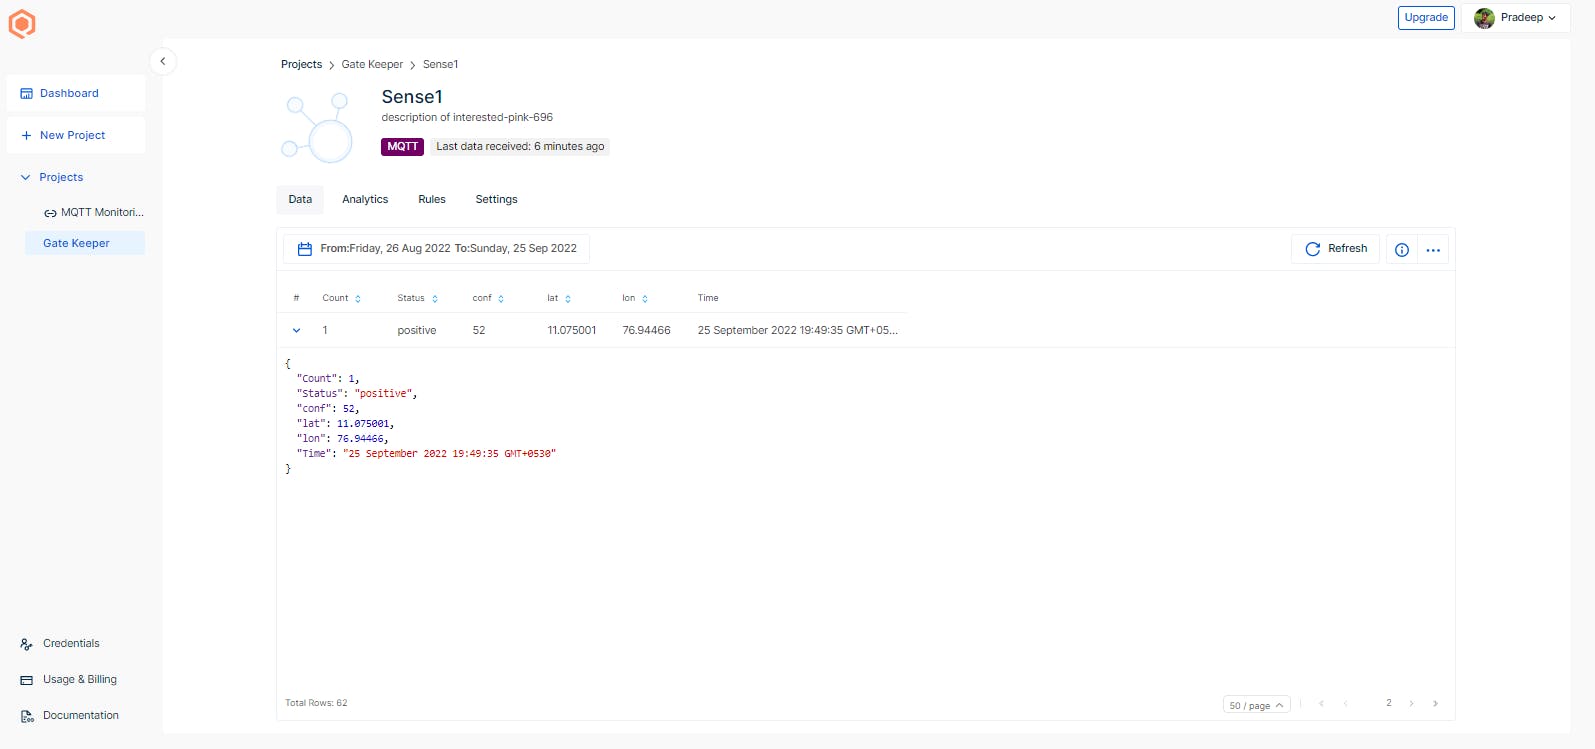
The next step is adding visuals for this navigation to the monitoring section and creating a new dashboard.
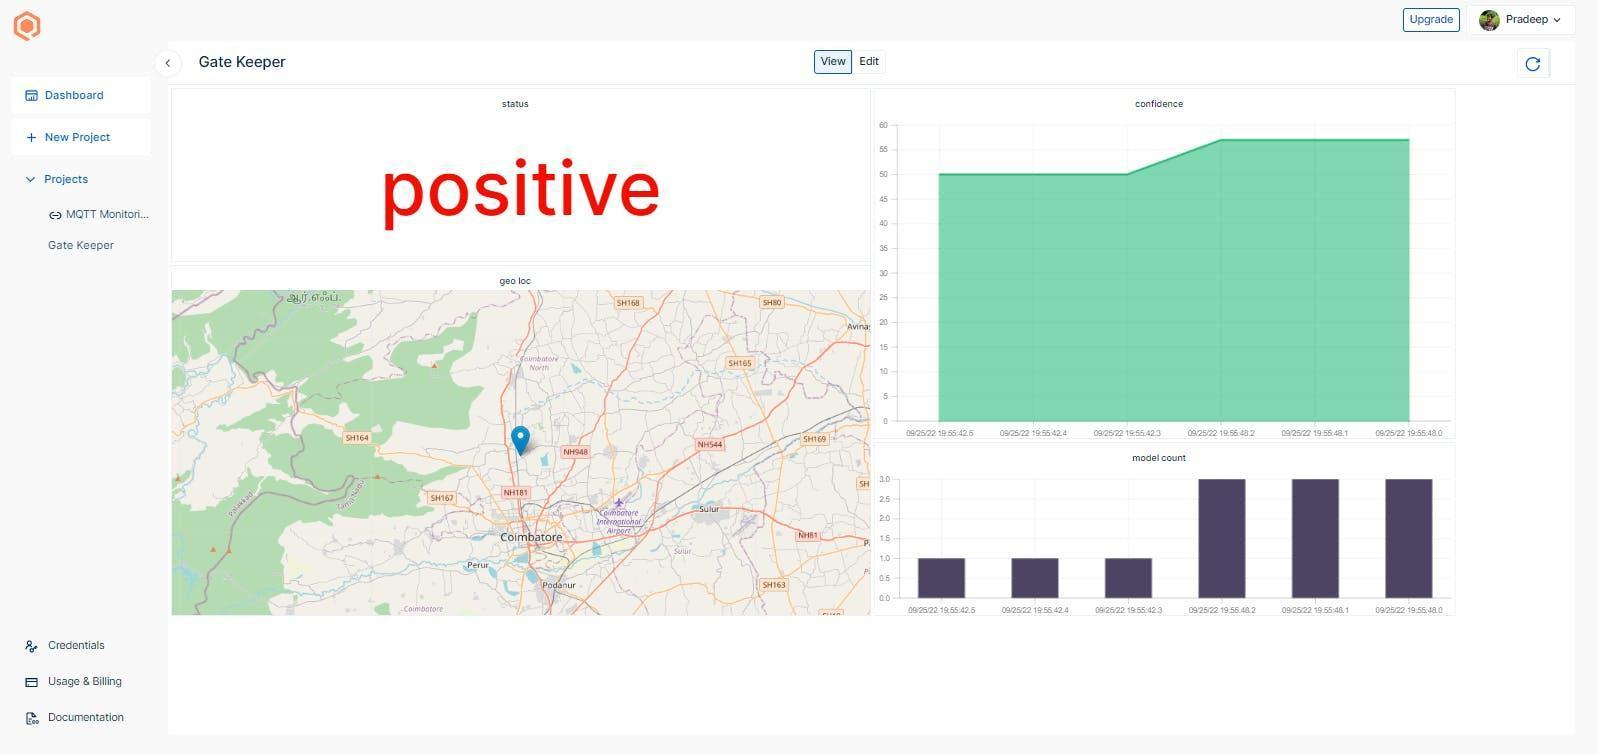
You can add different widgets as per your need. Finally, we are going to add an alarm system, for this we are going to use webhooks with make.
Go to eu1.make.com and create a new account,
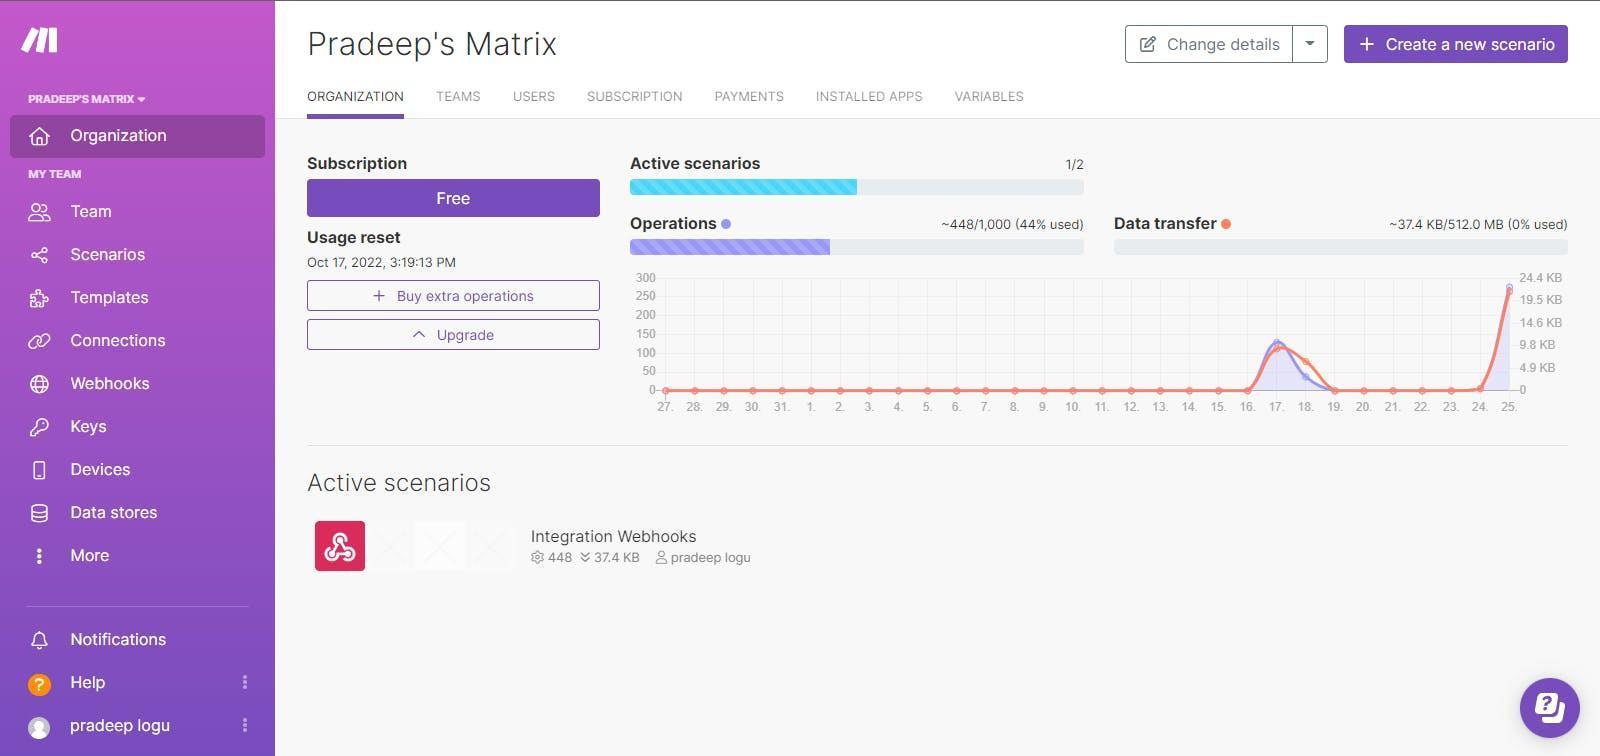
Then next create a new scenario like this one,
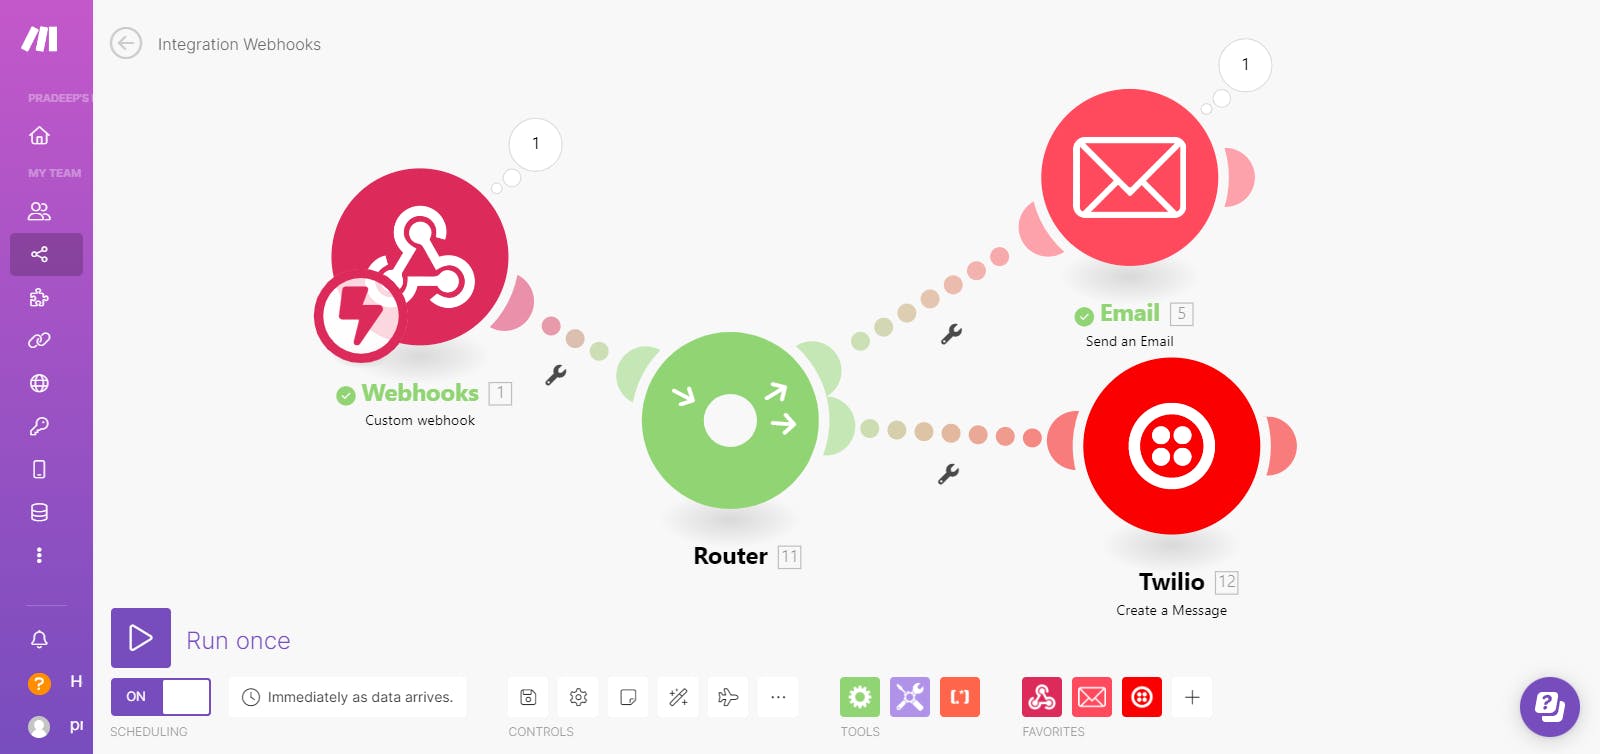
here I have added webhooks with Twilio and email so once the webhook is triggered it will start the SMS and email alerts.
Then go to the Qubitro portal and navigate to the rule section, add a new rule here I have added a rule like model score =100, so whenever the model is detected it would trigger the webhook then all the actions will take by make.
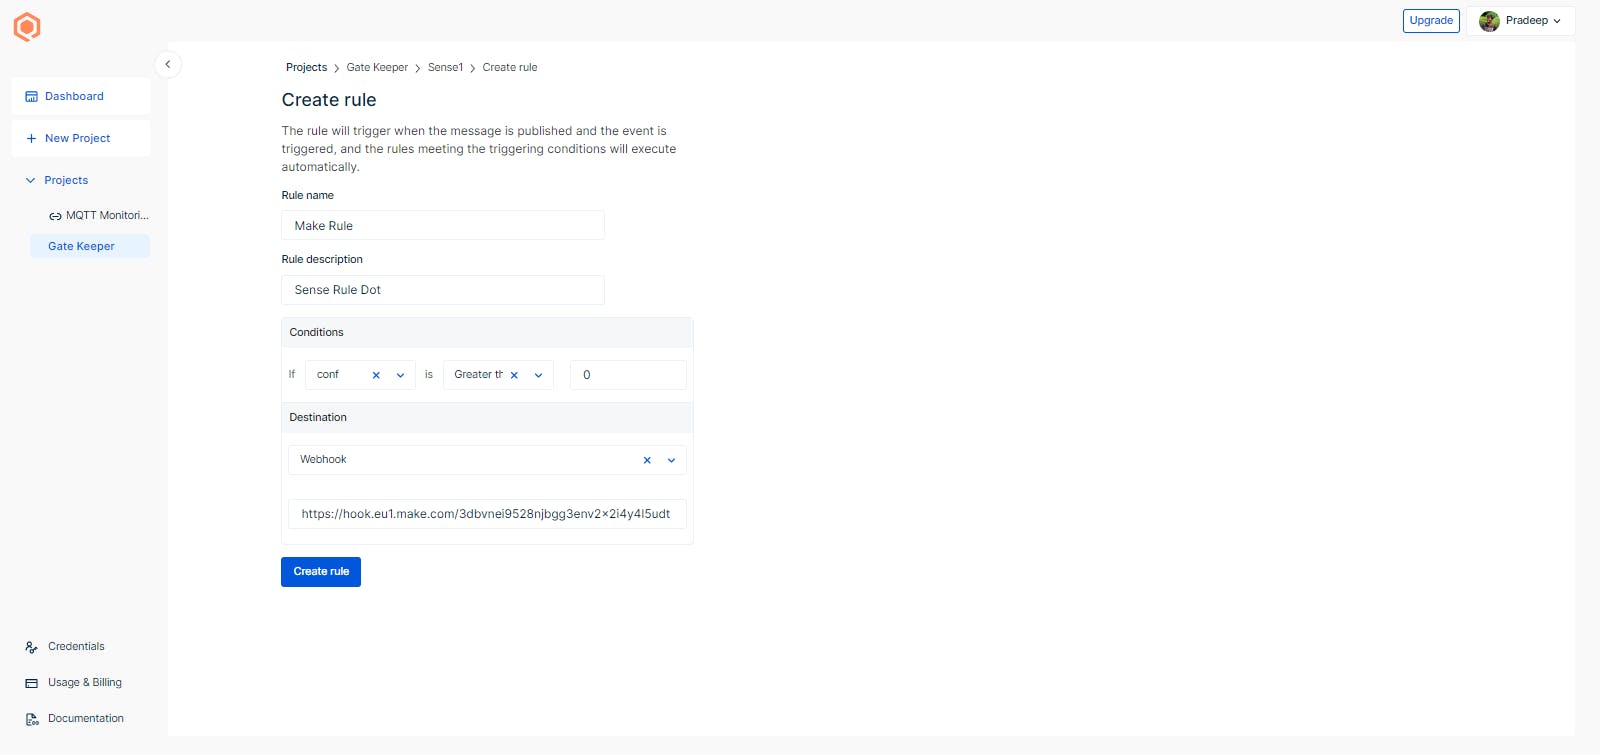
Webhook alert flow
Here is the final output of the email alert.

Here is the final output of theSMS alert.

Conclusion:

In this tutorial, I have shown you how to build a vision-based alert system for elephant detection with Cellular communication with Qubitro Cloud’s webhook and Twilio integration.
